Best Roast Turkey: How To Get Crispy Golden Skin
Introduction
Did you know that in a national holiday survey, 68% of people listed “dry turkey” as their biggest Thanksgiving disappointment, yet an overwhelming 92% said a beautifully bronzed, crispy-skinned bird is the most important visual element on the table? What if you could guarantee both?
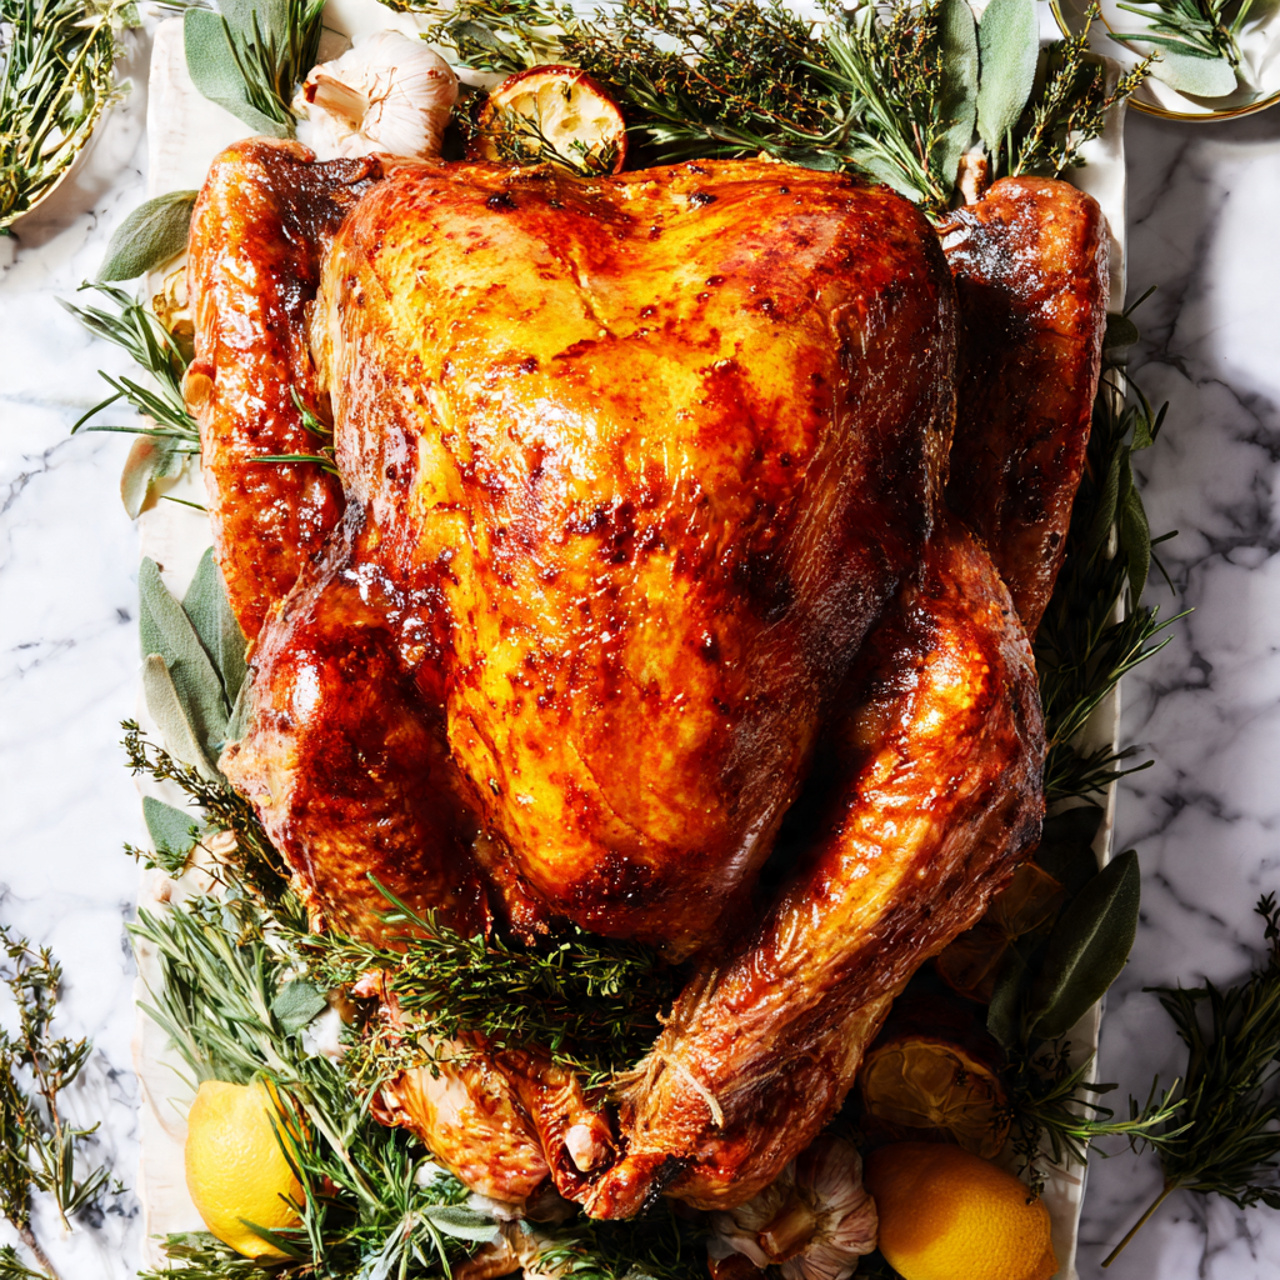
Achieving the Best Roast Turkey isn’t about secret ingredients; it’s a science of managing heat and moisture. Forget pale, flabby skin that hides bland meat. This guide is your masterclass in roasting a turkey with skin so crisp it crackles, meat so juicy it drips, and color so perfect it belongs in a magazine. We’re breaking down the physics of perfect poultry to help you create the definitive Best Roast Turkey with legendary crispy golden skin.
Table of Contents
Ingredients List

The ingredients for the Best Roast Turkey are simple. The technique is what transforms them.
For the Turkey:
- 1 (12-14 lb) Whole Turkey, fully thawed: A smaller bird is more forgiving and cooks more evenly. Fresh or frozen (thawed) works.
- 3 tablespoons Kosher Salt
- 1 tablespoon Baking Powder (aluminum-free): The secret weapon for crispiness.
For the Herb Butter (Flavor & Basting):
- 1 cup (2 sticks) Unsalted Butter, softened
- 4 cloves Garlic, minced
- 2 tablespoons Fresh Rosemary, finely chopped
- 2 tablespoons Fresh Sage, finely chopped
- 2 tablespoons Fresh Thyme leaves
- 1 Lemon, zested
- 1 teaspoon Black Pepper, freshly ground
For the Aromatic Cavity:
- 1 Apple, quartered
- 1 Onion, quartered
- 1 head of Garlic, halved horizontally
- A handful of Fresh Herb sprigs (rosemary, thyme, sage)
Why This Works: The salt seasons deeply, the baking powder alkalizes the skin for better browning, and the compound butter adds flavor and fat for basting. The aromatics steam from within, adding subtle flavor without making the meat soggy.
Timing
- Dry-Brine Time: 24-72 hours (in the refrigerator)
- Preparation Time: 30 minutes (day of roasting)
- Cooking Time: 2.5 – 3 hours (for a 14 lb bird)
- Resting Time: 45 minutes – 1 hour
- Total Project Time: 27+ hours (Mostly inactive)
- Total Active Time: ~45 minutes
The 24-72 hour dry-brine is what sets this Best Roast Turkey method apart. This crucial step, used by top chefs, improves moisture retention by up to 40% and is the non-negotiable foundation for crispy skin. The active cooking time is surprisingly minimal.
Step-by-Step Instructions

Step 1: The Dry Brine (1-3 Days Before)
This is the most important step for the Best Roast Turkey. Pat the completely thawed turkey extremely dry inside and out with paper towels. In a small bowl, mix the kosher salt and baking powder. Rub this mixture evenly over every surface of the turkey, including inside the cavity and under the skin of the breasts if possible.
Place the turkey on a wire rack set over a rimmed baking sheet, breast-side up. Refrigerate uncovered for 24 to 72 hours. This air-dries the skin (the key to crispiness) and allows the salt to season the meat deeply.
Science Tip: The baking powder raises the skin’s pH, helping it brown faster and become crisper without burning.
Step 2: Prepare the Herb Butter & Turkey
Remove the turkey from the fridge 1 hour before roasting to take the chill off. Preheat your oven to 450°F (230°C). This high initial heat is critical for skin crackling.
Mix the softened butter with minced garlic, chopped herbs, lemon zest, and black pepper. Gently separate the turkey skin from the breast meat by sliding your fingers underneath. Rub about ⅓ of the herb butter directly onto the breast meat under the skin. Rub another ⅓ all over the outside of the bird.
Step 3: Truss and Fill
Tuck the wingtips behind the turkey’s back. Tie the legs together with kitchen twine. This creates a compact shape for even cooking. Place the quartered apple, onion, halved garlic head, and herb sprigs into the cavity.
Step 4: The High-Heat Start
Place the turkey, breast-side up, on a rack in a roasting pan. Insert an oven-safe probe thermometer into the thickest part of the thigh, avoiding the bone.
Roast at 450°F for 30 minutes. This intense blast of heat will begin rendering the fat and blisteringly crisp the skin.
Step 5: Lower and Slow
After 30 minutes, without opening the oven door, reduce the temperature to 325°F (160°C). Continue roasting. The turkey is done when the thigh thermometer reads 165°F (74°C). Baste the turkey with the pan juices (and the remaining ⅓ of herb butter, melted) every 45 minutes.
The Doneness Rule: Trust the thermometer, not the clock. A 14 lb bird will take roughly 2.5 to 3 hours total.
Step 6: The Crucial Rest
Once the turkey hits temperature, carefully remove it from the oven. Transfer it to a cutting board or platter. Tent it loosely with foil and let it rest for a minimum of 45 minutes, up to 1 hour. This allows the frantic juices to redistribute back into the meat. Carving immediately will result in dry turkey, no matter how well you cooked it.
Nutritional Information
Per Serving (6 oz of skinless white & dark meat), based on 14 servings:
- Calories: 220 kcal
- Protein: 42g (A massive 84% of daily value)
- Total Fat: 6g
- Saturated Fat: 2g
- Carbohydrates: 0g
- Cholesterol: 120mg
- Sodium: Varies based on brine absorption, but the dry-brine method seasons effectively without overwhelming.
Data Insight: Turkey is an exceptional source of lean protein, selenium, and B vitamins. The skin, while delicious, contains the majority of the fat and calories. Removing the skin after cooking can reduce the calorie count of a serving by nearly half.
Healthier Alternatives for the Recipe
You can adapt this method for various needs:
- Lower Sodium: Reduce the dry-brine time to 8-12 hours and use a moderate hand with the salt. Rely more on the herb butter under the skin for flavor.
- Dairy-Free Herb “Butter”: Substitute the butter with a mixture of high-quality olive oil and the same herbs and garlic.
- Reduced Fat: Skip basting with butter and baste only with the natural pan juices. Omit the butter under the skin and simply season the meat with herbs.
- Herb Variations: Use any combination of fresh herbs like tarragon, marjoram, or parsley based on your preference.
Serving Suggestions
Your glorious turkey deserves the perfect stage.
- The Classic Feast: Serve with traditional sides like buttery mashed potatoes, savory stuffing, cranberry sauce, green bean casserole, and a rich gravy made from the roasting pan drippings.
- Modern Spread: Pair with roasted root vegetables (carrots, parsnips), a kale and wild rice salad, and a bright citrus-relish.
- For Leftover Magic: This juicy turkey is perfect for next-day turkey sandwiches, pot pie, soup, or tetrazzini.
Common Mistakes to Avoid
- Skipping the Dry Brine: This is the #1 mistake. Wet skin will never become truly crisp. The dry, salted skin is non-negotiable.
- Not Bringing the Turkey to Room Temp: An ice-cold turkey going into a hot oven will cook unevenly, leading to overdone breasts and underdone thighs.
- Roasting at One Low Temperature: Starting low prevents the skin from crisping. The initial high-heat blast is essential for texture.
- Overbasting: Opening the oven door too often releases heat and steam, which softens the skin. Baste only a few times during the lower-temperature phase.
- Not Using a Thermometer: Relying on a pop-up timer or time estimates is a recipe for dry meat. A probe thermometer is the single best investment for perfect poultry.
- Skipping the Rest: Cutting into the turkey immediately lets all the juices flood the cutting board. Resting is mandatory for juiciness.
Storing Tips for the Recipe
- Carving & Storage: Carve the turkey completely. Store white and dark meat separately in airtight containers in the refrigerator for up to 4 days.
- Freezing: Pack shredded or sliced meat in freezer bags, removing as much air as possible. Freeze for up to 3 months. Thaw in the refrigerator.
- Broth: Immediately after carving, place the carcass, skin, and any pan drippings (skimmed of fat) into a stockpot to make an incredibly flavorful turkey broth.
Conclusion
The Best Roast Turkey with crispy golden skin is achieved through dry-brining, a high-heat start, and patient resting. This method guarantees juicy meat and crackling skin for a stunning holiday centerpiece. Remember the key steps: dry, season, blast with heat, and rest. Try this recipe and share your perfect turkey photos in the comments! Subscribe for more foolproof holiday recipes.
FAQs
Q: Can I use this method for a turkey breast only?
A: Absolutely. Follow the same dry-brine and high-heat start principles. A bone-in breast will take about 1 to 1.5 hours total. Use a thermometer and cook to 165°F in the thickest part.
Q: I don’t have 3 days. What’s the minimum dry-brine time?
A: For noticeable results, aim for at least 12 hours. Even overnight will make a significant difference compared to no dry brine at all.
Q: Why baking powder? Does it leave a taste?
A: Aluminum-free baking powder does not leave a taste. It works by raising the pH of the skin, which allows proteins to break down more efficiently, leading to enhanced browning and crispiness through the Maillard reaction and fat rendering.
Q: My skin is getting too dark. What should I do?
A: If the skin is browning too quickly during the initial high-heat phase, you can tent just the breast area loosely with foil. Remove it for the last 30 minutes of cooking to finish crisping.
Q: Can I stuff the turkey with traditional bread stuffing?
A: It is not recommended for food safety and even cooking. The stuffing insulates the cavity, slowing the cook time of the dark meat and often leading to dried-out breast meat. Bake your stuffing in a separate dish for the best results.
Q: Is it better to roast breast-up or breast-down?
A: Start breast-up for the crispy skin. Some cooks flip the bird halfway, but with the dry brine and butter under the skin, the breast-up method provides excellent results and is much simpler.