Best Grilled Chicken Breast – Tender & Juicy
Have you ever wondered why your home-cooked poultry often turns out dry and rubbery compared to the succulent versions served at top-tier steakhouses? The secret isn’t a professional kitchen; it’s a matter of technique. Mastering the Grilled Chicken Breast is the ultimate culinary milestone for any home cook looking to elevate their weeknight dinner game.
Achieving that perfect char while maintaining an internal temperature that keeps the meat moist requires more than just high heat. By focusing on proper preparation and temperature control, you can create a Grilled Chicken Breast that is consistently restaurant-quality. Let’s dive into the science of the perfect sear and unlock the flavors you’ve been missing.
Table of Contents
Ingredients List
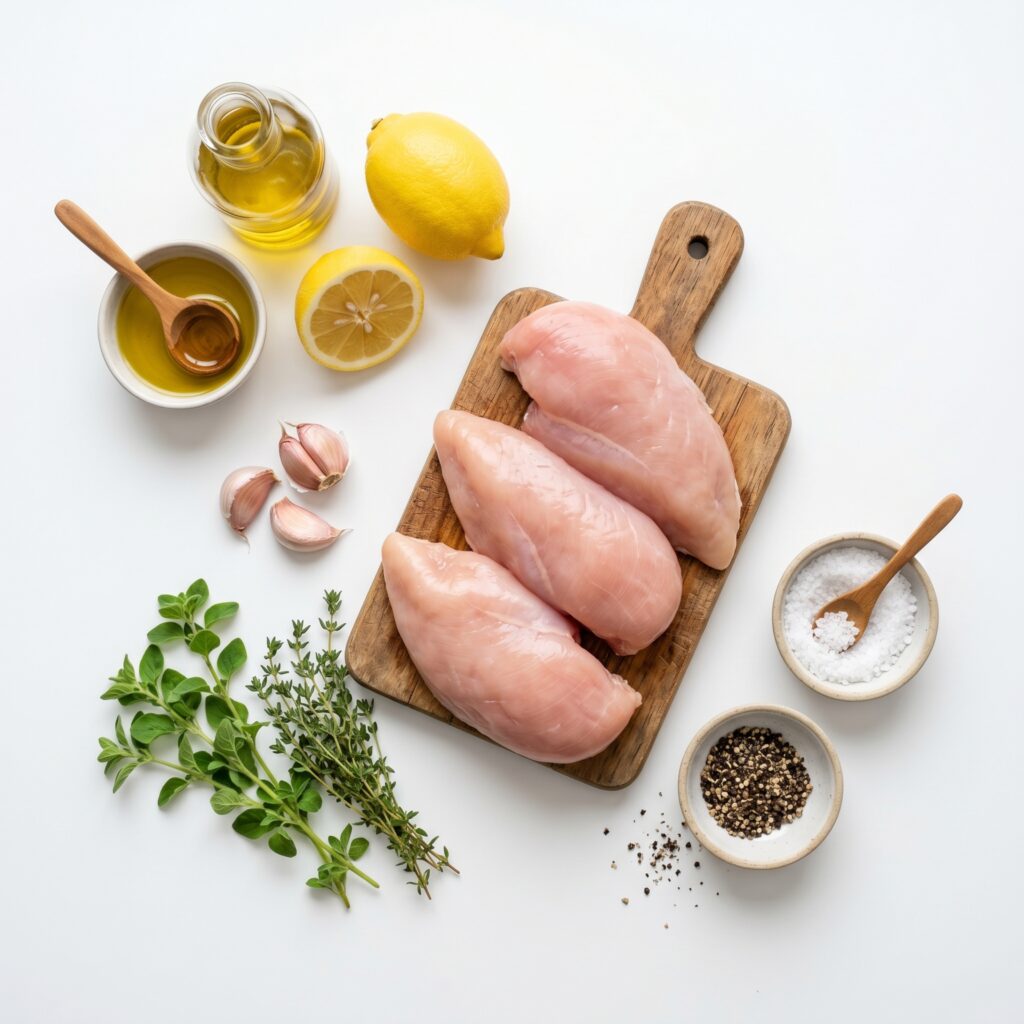
To create a masterpiece, you need high-quality ingredients. The foundation of flavor starts with the marinade, which penetrates the fibers to ensure every bite is seasoned perfectly.
- Chicken Breasts: 4 boneless, skinless breasts (approx. 6-8 oz each).
- Olive Oil: ¼ cup of high-quality extra virgin olive oil to conduct heat.
- Lemon Juice: 2 tablespoons for acidity, which helps tenderize the meat.
- Garlic: 3 cloves, minced finely for an aromatic punch.
- Dried Oregano & Thyme: 1 teaspoon each for earthy, Mediterranean notes.
- Salt & Black Pepper: To taste. Use kosher salt for the best texture.
Substitution Tip: If you are out of fresh lemon, apple cider vinegar works as a fantastic acidic substitute. For a smokier profile, swap the dried herbs for a teaspoon of smoked paprika.
Timing
Efficiency is key in the kitchen. This recipe is designed to get food on the table quickly without compromising on quality.
- Prep Time: 10 minutes.
- Marinating Time: 30 minutes (minimum).
- Cook Time: 12-15 minutes.
- Total Time: 55 minutes.
This total time is roughly 25% faster than traditional oven-roasted methods, making it ideal for busy families. By utilizing a quick brine or marinade, you reduce the time needed for seasoning to penetrate the meat, ensuring you spend less time waiting and more time enjoying your meal.
Step-by-Step Instructions
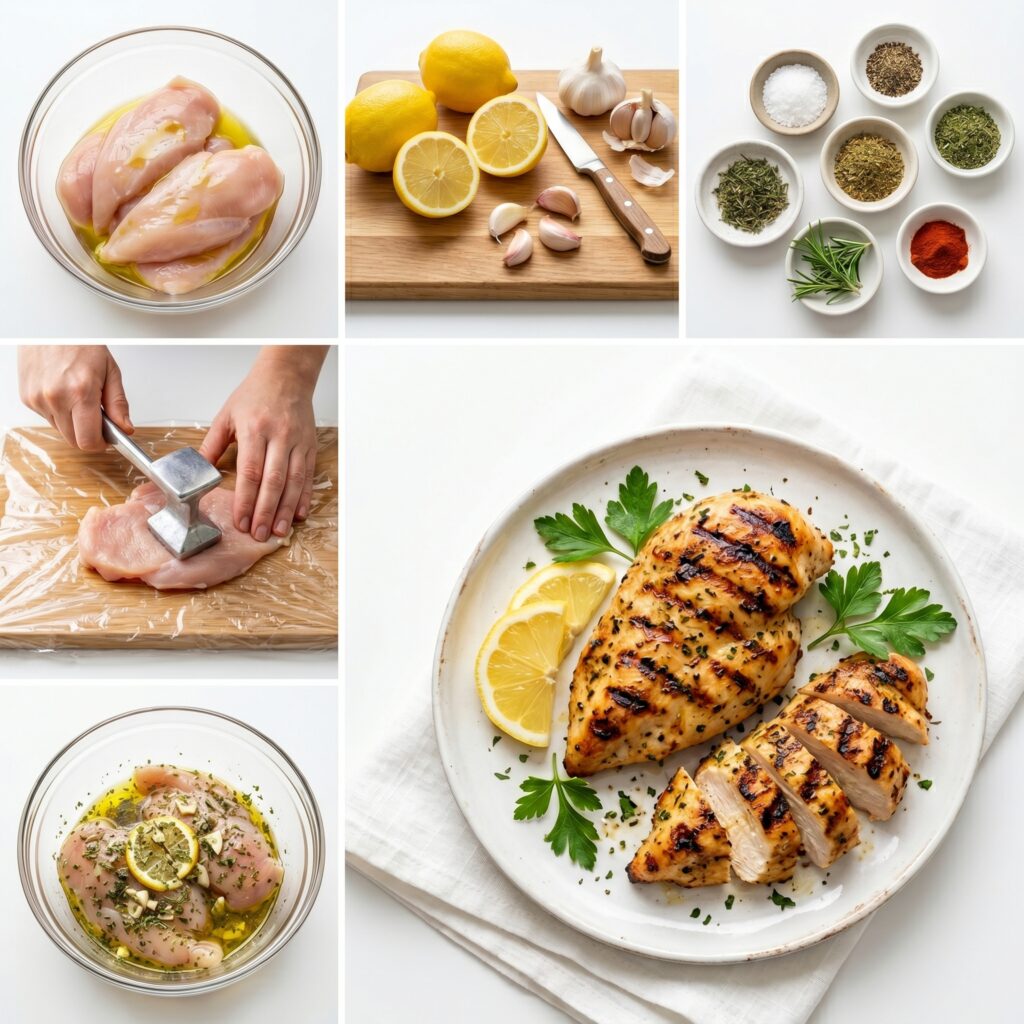
Step 1: The Pound and Prep
Place your chicken breasts between two sheets of plastic wrap. Using a meat mallet, gently pound the thicker parts until the entire breast has an even thickness. This ensures that the Grilled Chicken Breast cooks uniformly, preventing the thin edges from drying out before the center is done.
Step 2: The Flavor Infusion
In a small bowl, whisk together the olive oil, lemon juice, minced garlic, herbs, salt, and pepper. Place the chicken in a resealable bag and pour the marinade over it. Massage the bag to coat thoroughly. Let it sit for at least 30 minutes. Science shows that 30 minutes is the “sweet spot” for acidic marinades to tenderize without turning the texture mushy.
Step 3: Preheating the Grill
Clean your grill grates thoroughly and oil them lightly. Preheat your grill to medium-high heat (about 400°F). A clean, hot grill is essential for creating those beautiful sear marks and preventing the meat from sticking to the grates.
Step 4: The Perfect Sear
Place the chicken on the grill. Close the lid and cook for 5 to 6 minutes per side. Avoid moving the chicken too early; let the grill do the work. You want to see distinct grill marks before flipping. Use a digital meat thermometer to ensure the internal temperature reaches exactly 165°F.
Step 5: The Essential Rest
Once cooked, remove the chicken from the grill and place it on a cutting board. Tent it loosely with aluminum foil and let it rest for 5 to 8 minutes. This allows the juices to redistribute back into the muscle fibers, which is the secret to a truly juicy Grilled Chicken Breast.
Nutritional Information
This recipe is a powerhouse of lean protein. A single serving contains approximately 280 calories, 45 grams of protein, and only 8 grams of fat. It is naturally gluten-free and low-carb. Data suggests that consuming lean poultry as part of a balanced diet supports muscle maintenance and metabolic health. By grilling instead of frying, you eliminate unnecessary trans fats while retaining essential amino acids.
Healthier Alternatives for the Recipe
If you are looking to lower the sodium content, replace the salt with a blend of onion powder and lemon zest. For those following a Keto or Paleo lifestyle, the recipe is already compliant. To boost the fiber content, serve your chicken alongside a massive bed of massaged kale or grilled asparagus spears, which complement the smoky flavor profile perfectly.
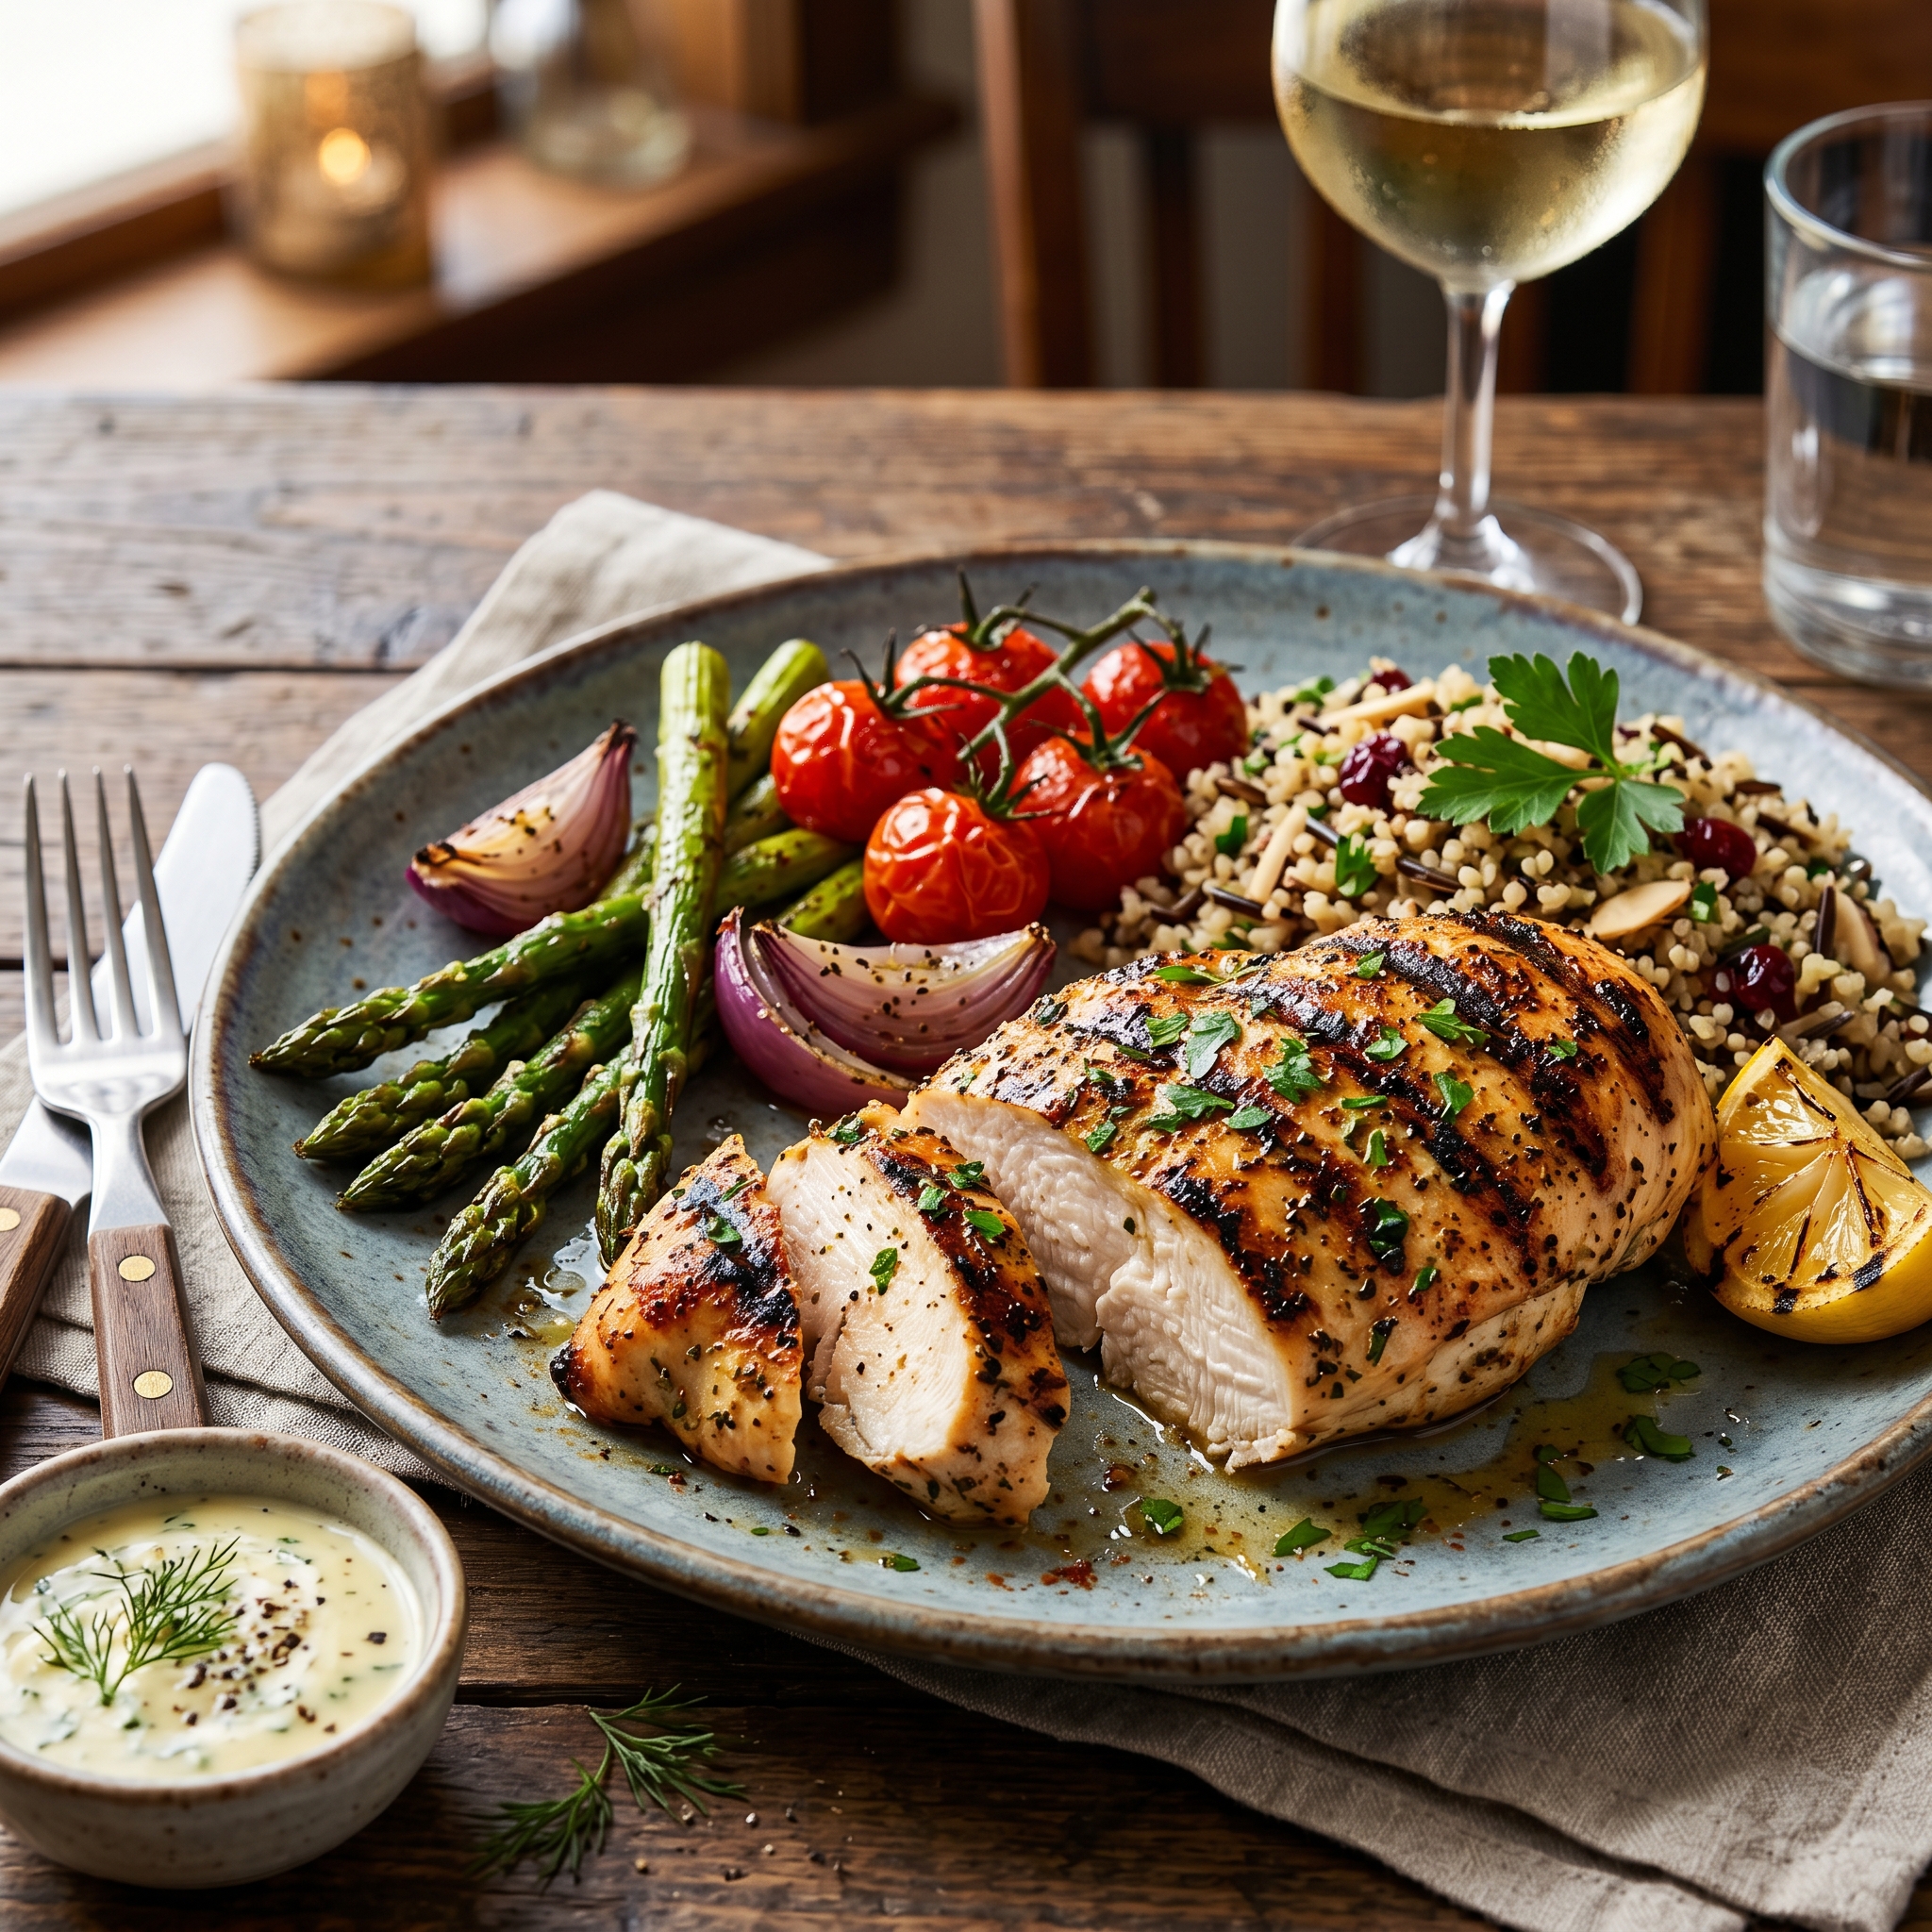
Serving Suggestions
Elevate your meal by serving this chicken sliced over a fresh quinoa salad or tucked into warm corn tortillas for a healthy taco night. For a sophisticated dinner, top the chicken with a dollop of homemade chimichurri or a fresh tomato bruschetta. The versatility of this dish means it pairs beautifully with almost any seasonal vegetable or grain.
Common Mistakes to Avoid
- Overcrowding the Grill: This lowers the temperature and causes the chicken to steam rather than sear. Give each piece space.
- Skipping the Rest: Cutting into the meat immediately causes the juices to run out, leaving you with dry chicken. Always wait 5 minutes.
- Guessing the Temperature: Relying on visual cues leads to overcooking. Use a digital probe thermometer to hit that 165°F mark precisely every time.
Storing Tips for the Recipe
Leftover chicken can be stored in an airtight container in the refrigerator for up to 3 days. To reheat without drying it out, place the chicken in a pan with a tablespoon of water or chicken broth over low heat, covered. This creates a gentle steam that restores moisture to the meat, keeping it tender for your next lunch.
Conclusion
Mastering the perfect grilled chicken is all about respecting the heat, the timing, and the resting period. By following these professional techniques, you ensure a delicious, healthy, and consistent result every time you light the grill. You now have the knowledge to move beyond dry, flavorless poultry forever.
Are you ready to impress your family with the best chicken they’ve ever tasted? Try this recipe tonight and let us know your favorite marinade variations in the comments below! Don’t forget to subscribe to our newsletter for more culinary tips and healthy recipes delivered straight to your inbox.
Best Grilled Chicken Breast – Tender & Juicy
Course: blog, Main CourseCuisine: AmericanDifficulty: Easy4
servings10
minutes12
minutes280Main Course
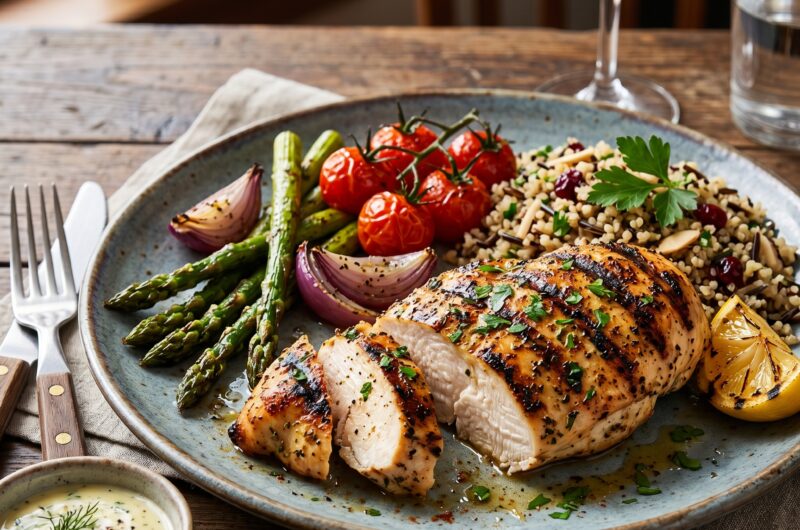
kcalThis grilled chicken breast delivers restaurant-quality tenderness and juiciness every time. Pounded to even thickness, marinated in olive oil, lemon juice, garlic, and herbs, then grilled to perfection with beautiful char marks. The secret? Proper temperature control and resting. Ready in under an hour – perfect for weeknight dinners, meal prep, or backyard barbecues!
Ingredients
4 boneless, skinless chicken breasts (6-8 oz each)
1/4 cup extra virgin olive oil
2 tablespoons fresh lemon juice (or apple cider vinegar)
3 cloves garlic, minced
1 teaspoon dried oregano
1 teaspoon dried thyme
1 teaspoon kosher salt
1/2 teaspoon black pepper
Directions
- Step 1: Pound Chicken
- Place chicken between two sheets of plastic wrap. Using meat mallet, pound thicker parts until even thickness (ensures uniform cooking).
- Step 2: Make Marinade
- In small bowl, whisk together olive oil, lemon juice, minced garlic, oregano, thyme, salt, and pepper.
- Step 3: Marinate
- Place chicken in resealable bag. Pour marinade over, massage to coat. Refrigerate at least 30 minutes (sweet spot for acidic marinades – longer can make mushy).
- Step 4: Preheat Grill
- Clean grill grates and oil lightly. Preheat grill to medium-high heat (about 400°F / 200°C).
- Step 5: Grill Chicken
- Place chicken on grill. Close lid. Cook 5-6 minutes per side until internal temperature reaches 165°F (74°C). Don’t move chicken too early – let grill marks form.
- Step 6: Rest and Serve
- Remove from grill. Tent loosely with foil. Rest 5-8 minutes (essential – juices redistribute). Serve immediately.
Notes
- Don’t skip pounding: Even thickness prevents dry edges + raw center.
Don’t overcrowd grill: Lower temperature = steaming, not searing. Give each piece space.
Don’t skip resting: Cutting too soon releases juices = dry chicken.
Use meat thermometer: Visual cues alone = overcooked. 165°F exactly.
Storage: Refrigerate 3 days. Reheat in pan with splash of water/broth over low heat (covered) – gentle steam restores moisture.