Homemade Gummy Candy Recipe – Easy, Chewy & Fun to Make

Introduction
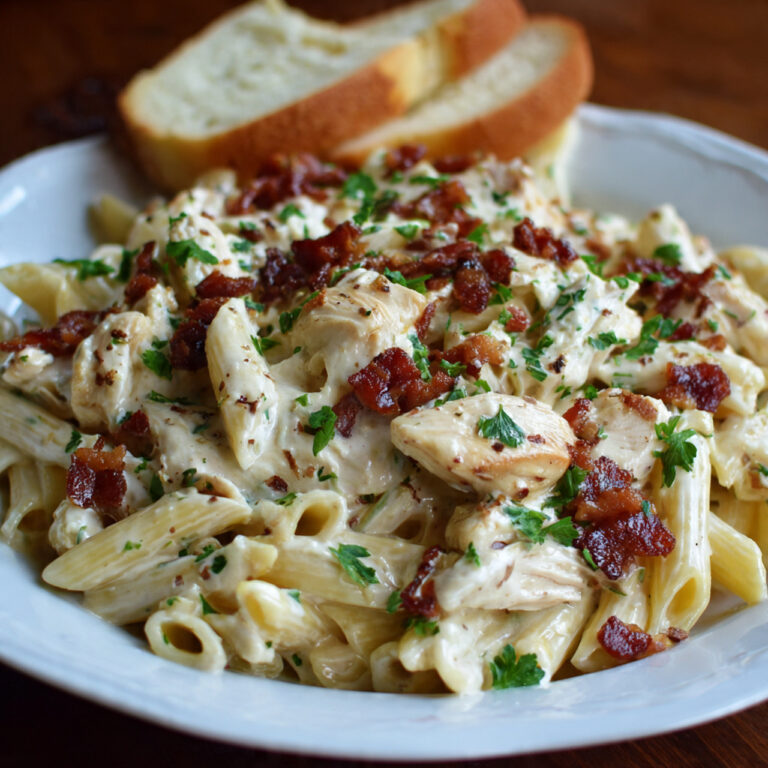
Dinner time doesn’t have to be complicated to be delicious. When you’re looking for a meal that impresses without hours of preparation, Boursin Chicken is the perfect solution. This creamy, herb-infused dish transforms ordinary chicken breasts into a restaurant-quality meal that’s surprisingly simple to make. Similarly, Stuffed Chicken offers another fantastic way to elevate plain chicken into something special, with pockets of delightful fillings that burst with flavor in every bite. Both dishes have become staples in my household for those evenings when I want something a bit more special than our usual weeknight fare, without spending hours in the kitchen.
Table of Contents
Ingredients List
For the Boursin Chicken:
– 4 boneless, skinless chicken breasts
– 1 package (5.2 oz) Boursin cheese (garlic and herb flavor)
– 2 tablespoons olive oil
– 1 teaspoon paprika
– 1 teaspoon garlic powder
– Salt and freshly ground pepper, to taste
– 2 tablespoons fresh parsley, chopped
– 1 cup chicken broth
– 1/2 cup heavy cream
– 1 tablespoon butter
For the Stuffed Chicken:
– 4 boneless, skinless chicken breasts
– 4 oz cream cheese, softened
– 1/2 cup spinach, chopped
– 1/4 cup sun-dried tomatoes, chopped
– 2 cloves garlic, minced
– 1/4 cup mozzarella cheese, shredded
– 1 tablespoon Italian seasoning
– 2 tablespoons olive oil
– Salt and pepper, to taste
– Toothpicks for securing
Step-by-Step Instructions
For the Boursin Chicken:
1. Preheat your oven to 375°F (190°C).
2. Pat the chicken breasts dry with paper towels and season both sides with salt, pepper, paprika, and garlic powder.
3. Heat olive oil in an oven-safe skillet over medium-high heat.
4. Sear the chicken breasts for 3-4 minutes on each side until golden brown.
5. Transfer the skillet to the preheated oven and bake for 15 minutes or until the internal temperature reaches 165°F.
6. Remove the chicken and set aside, keeping warm.
7. Return the skillet to the stovetop over medium heat.
8. Add chicken broth to deglaze the pan, scraping up any browned bits.
9. Reduce heat and whisk in the Boursin cheese and heavy cream until smooth.
10. Simmer for 2-3 minutes until the sauce thickens slightly.
11. Add butter and stir until melted.
12. Return the chicken to the skillet, spooning the sauce over the top.
13. Garnish with fresh parsley before serving.
For the Stuffed Chicken:
1. Preheat oven to 375°F (190°C).
2. Create a pocket in each chicken breast by cutting horizontally into the thickest part, being careful not to cut all the way through.
3. In a bowl, combine cream cheese, spinach, sun-dried tomatoes, garlic, mozzarella, and Italian seasoning.
4. Stuff each chicken breast with the mixture, securing with toothpicks if needed.
5. Season the outside with salt and pepper.
6. Heat olive oil in an oven-safe skillet over medium-high heat.
7. Sear the stuffed chicken for 3-4 minutes on each side until golden.
8. Transfer to the oven and bake for 20-25 minutes until the chicken is cooked through.
9. Remove toothpicks before serving.
Tips
1. For juicier chicken, brine the breasts in saltwater for 30 minutes before cooking.
2. Allow the Boursin cheese to come to room temperature before making the sauce for easier blending.
3. If you don’t have an oven-safe skillet, transfer the chicken to a baking dish for the oven portion.
4. For the stuffed chicken, don’t overstuff the pockets or the filling may leak out during cooking.
5. Let the chicken rest for 5 minutes before serving to allow juices to redistribute.
6. For a crispy exterior on your stuffed chicken, you can dust it lightly with breadcrumbs before searing.
Alternative Methods
1. Slow Cooker Version: Place seasoned chicken in a slow cooker, cook on low for 6 hours, then add the Boursin and cream for the last 30 minutes.
2. Air Fryer Method: Cook stuffed chicken in an air fryer at 370°F for about 15 minutes for a quicker version.
3. Grilled Option: Both dishes can be adapted for the grill – just be careful with the stuffed version to prevent filling from falling out.
4. Sheet Pan Meal: Surround your Boursin chicken with vegetables like asparagus, cherry tomatoes, and potatoes for a complete one-pan dinner.
Conclusion
These Boursin Chicken and Stuffed Chicken recipes prove that weeknight dinners can be both convenient and impressive. The creamy, herb-infused sauce of the Boursin chicken pairs wonderfully with roasted vegetables or a simple salad, while the stuffed variation offers endless possibilities for customization based on your preferences or what’s in your refrigerator. Whether you’re cooking for a special occasion or simply want to elevate your everyday meals, these chicken recipes deserve a spot in your regular rotation. They’re versatile enough for family dinners yet sophisticated enough for entertaining guests—truly the best of both culinary worlds.
Print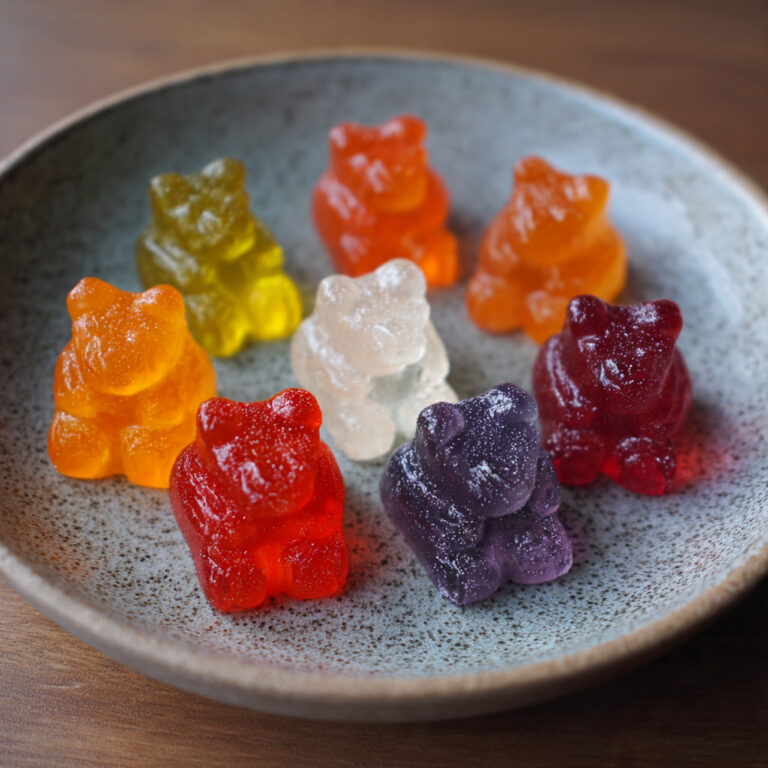
Homemade Gummy Candy Recipe – Easy, Chewy & Fun to Make
Skip the store-bought versions filled with artificial ingredients and make your own delicious, chewy gummy candy at home! This recipe is surprisingly simple and requires just a handful of pantry staples. The result is a soft, bouncy, and flavorful candy that you can customize with any fruit juice or flavoring you love. Perfect for kids’ parties, homemade gifts, or a fun weekend activity with the family. Once you see how easy it is, you’ll never buy gummy bears again!
- Total Time: 15 minutes
- Yield: Approximately 40–60 small gummy candies (depending on mold size)
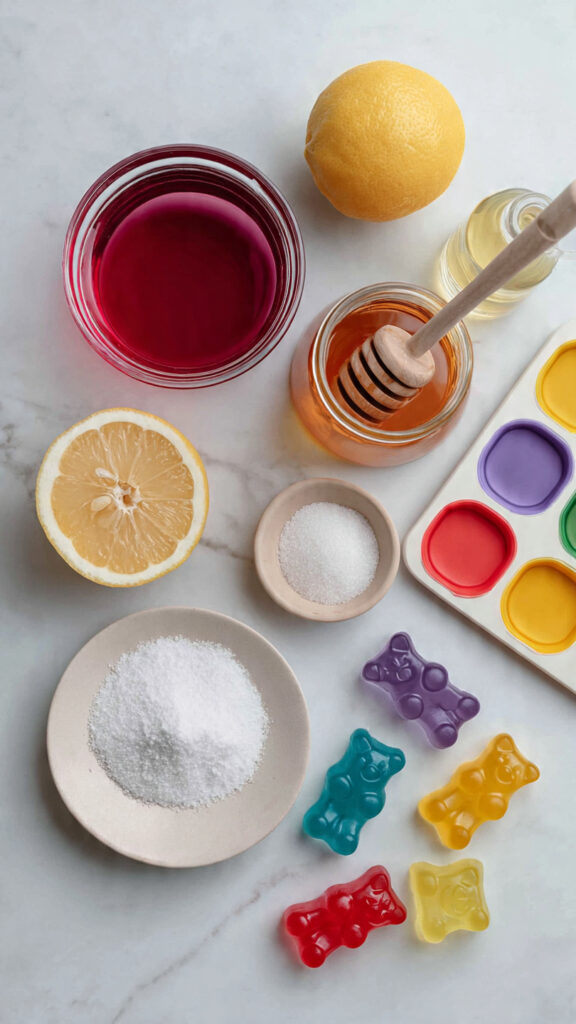
Ingredients
- 1 cup fruit juice (100% juice – options: orange, apple, grape, pomegranate, or mixed berry)
- 3 tablespoons unflavored gelatin powder (about 3 standard envelopes)
- 2 tablespoons honey, agave syrup, or granulated sugar (adjust to taste)
- 1 tablespoon fresh lemon juice (helps preserve color and adds brightness)
- Optional: 1/4 teaspoon flavored extract (like strawberry, raspberry, or watermelon for extra punch)
- Optional: Silicone candy molds (bears, worms, or any fun shape)
- Optional: Cornstarch or powdered sugar for coating
Instructions
Step 1: Prepare Your Molds
Lightly spray your silicone candy molds with non-stick cooking spray or wipe them with a neutral oil (like coconut or vegetable oil). This will make it much easier to pop the gummies out later.
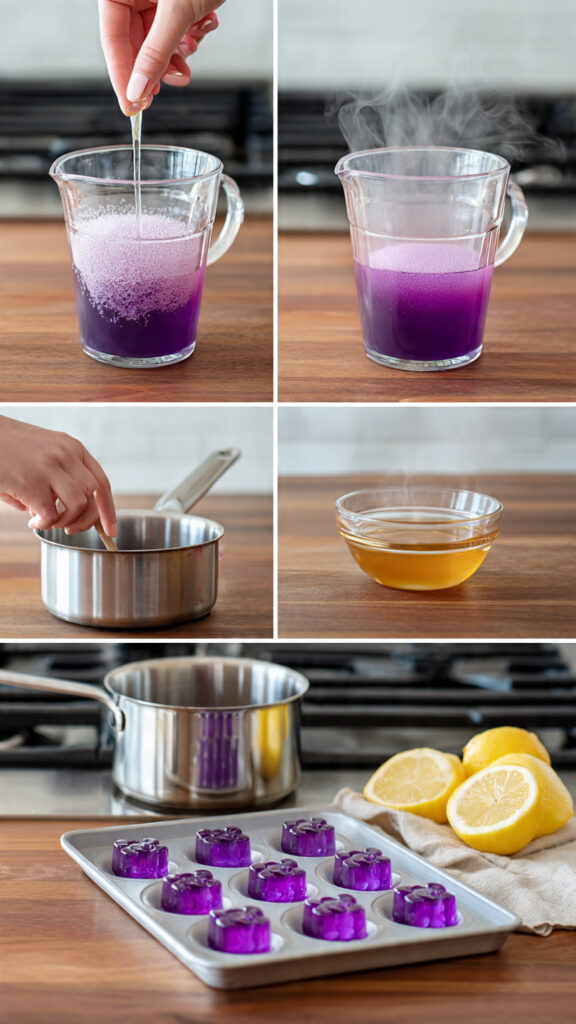
Step 2: Combine Ingredients in a Saucepan
In a small saucepan, pour the fruit juice. Sprinkle the gelatin powder evenly over the surface of the juice. Do NOT stir yet. Let it sit for 5–10 minutes to allow the gelatin to “bloom” (absorb the liquid and become spongy).
Step 3: Gently Heat the Mixture
After blooming, place the saucepan over low heat. Add the honey (or sugar) and lemon juice. Warm the mixture gently, stirring constantly with a silicone spatula or whisk, until the gelatin and sweetener are completely dissolved. Do not let it boil – boiling can destroy the gelatin’s setting ability. Heat just until the mixture is liquid and smooth, about 3–5 minutes.
Step 4: Add Flavoring (Optional)
Remove the saucepan from heat. If using flavored extracts, stir them in now.
Step 5: Fill the Molds
Carefully pour the warm liquid into a glass measuring cup with a spout (this makes pouring easier). Slowly fill each cavity of your silicone molds. Work quickly before the mixture begins to set.
Step 6: Set the Gummies
Place the filled molds on a baking sheet and transfer them to the refrigerator. Chill for at least 1–2 hours, or until the gummies are firm and easily pop out of the molds.
Step 7: Unmold and Coat (Optional)
Gently push each gummy out of the silicone mold. If they stick, let them sit at room temperature for 5 minutes or place the mold in the freezer for 10 minutes. For a more professional finish, toss the gummies lightly in cornstarch or powdered sugar to prevent sticking, then shake off any excess in a fine-mesh strainer.
Step 8: Store and Enjoy
Enjoy immediately or store in an airtight container.
Notes
- Do not boil the mixture: High heat breaks down gelatin and will result in gummies that never set properly. Keep the heat on low.
- Bloom the gelatin first: Letting the gelatin sit in cold juice for 5–10 minutes is the most important step for a smooth, lump-free texture.
- Customize the sweetness: Use 100% fruit juice for natural sweetness. If using tart juices like cranberry or pomegranate, you may want to add a bit more honey or sugar.
- Make them sugar-free: Replace honey/sugar with stevia, monk fruit sweetener, or allulose. Allulose works especially well because it crystallizes like sugar.
- Vegan option: Use agar-agar powder instead of gelatin (about 2 teaspoons). Note that agar gummies will have a firmer, more brittle texture and set at room temperature.
- Storage: Keep homemade gummies in an airtight container in the refrigerator for up to 2 weeks. They can also be stored at room temperature for 3–5 days, but refrigeration keeps them firmer and fresher longer.
- Prep Time: 10 minutes
- Cook Time: 5 minutes
- Category: Dessert / Candy
- Method: No-Bake / Stovetop
- Cuisine: American
- Diet: Gluten-Free